Minibots Assembly Instructions
Materials
- 1 10in x 10in plastic belly pan
- 2 1in x 0.5in x 9in aluminum stock
- 2 1in x 0.5in x 10in aluminum stock
- 2 2.5in in diameter 3d printed wheels
- 2 2in in diameter 3d printed wheels
- 4 L brackets
- 2 motors
- 2 adapters
- 16 10-32 bolts
- 16 10-32 nuts
Instructions
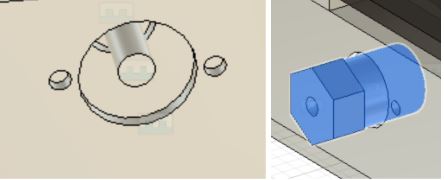
1) Insert motors on both sides through these holes on the stock so that the motors rest on the belly pan. Add the adapter on the outside edge of the bot.
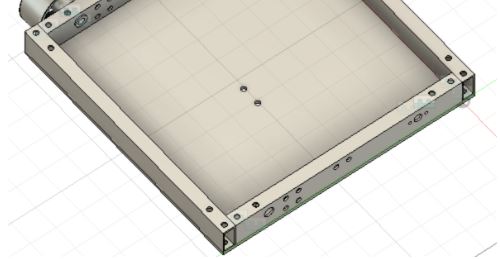
2) Start by assembling the chassis using the 9in and 10in aluminum stock into a square. You can just line it up on the table first then line up the belly pan with the holes in the stock. Make sure that the holes on parallel sides have the same holes.
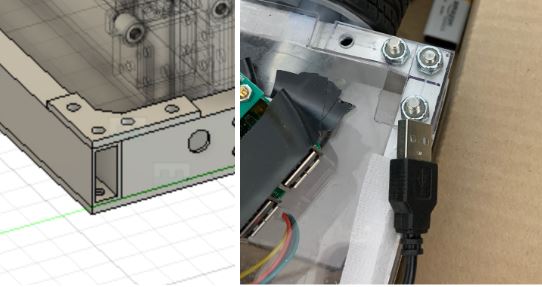
3) Line up the plastic L brackets on top and then bolt down. The nut will go on top. Use a wrench to tighten it all the way.
4) Next, slide the 2in wheels onto the adapters.


